Free Lightroom Preset
What is a Lightroom Preset?
A Lightroom preset is a pre-made set of adjustments applied to a photo in Adobe Lightroom, which allows you to achieve a specific look or style with just one click. Presets can include changes to color, tone, exposure, contrast, and other settings that affect the appearance of the photo. They are designed to save time and simplify the editing process, making achieving consistent results across multiple images easier.
My First Preset
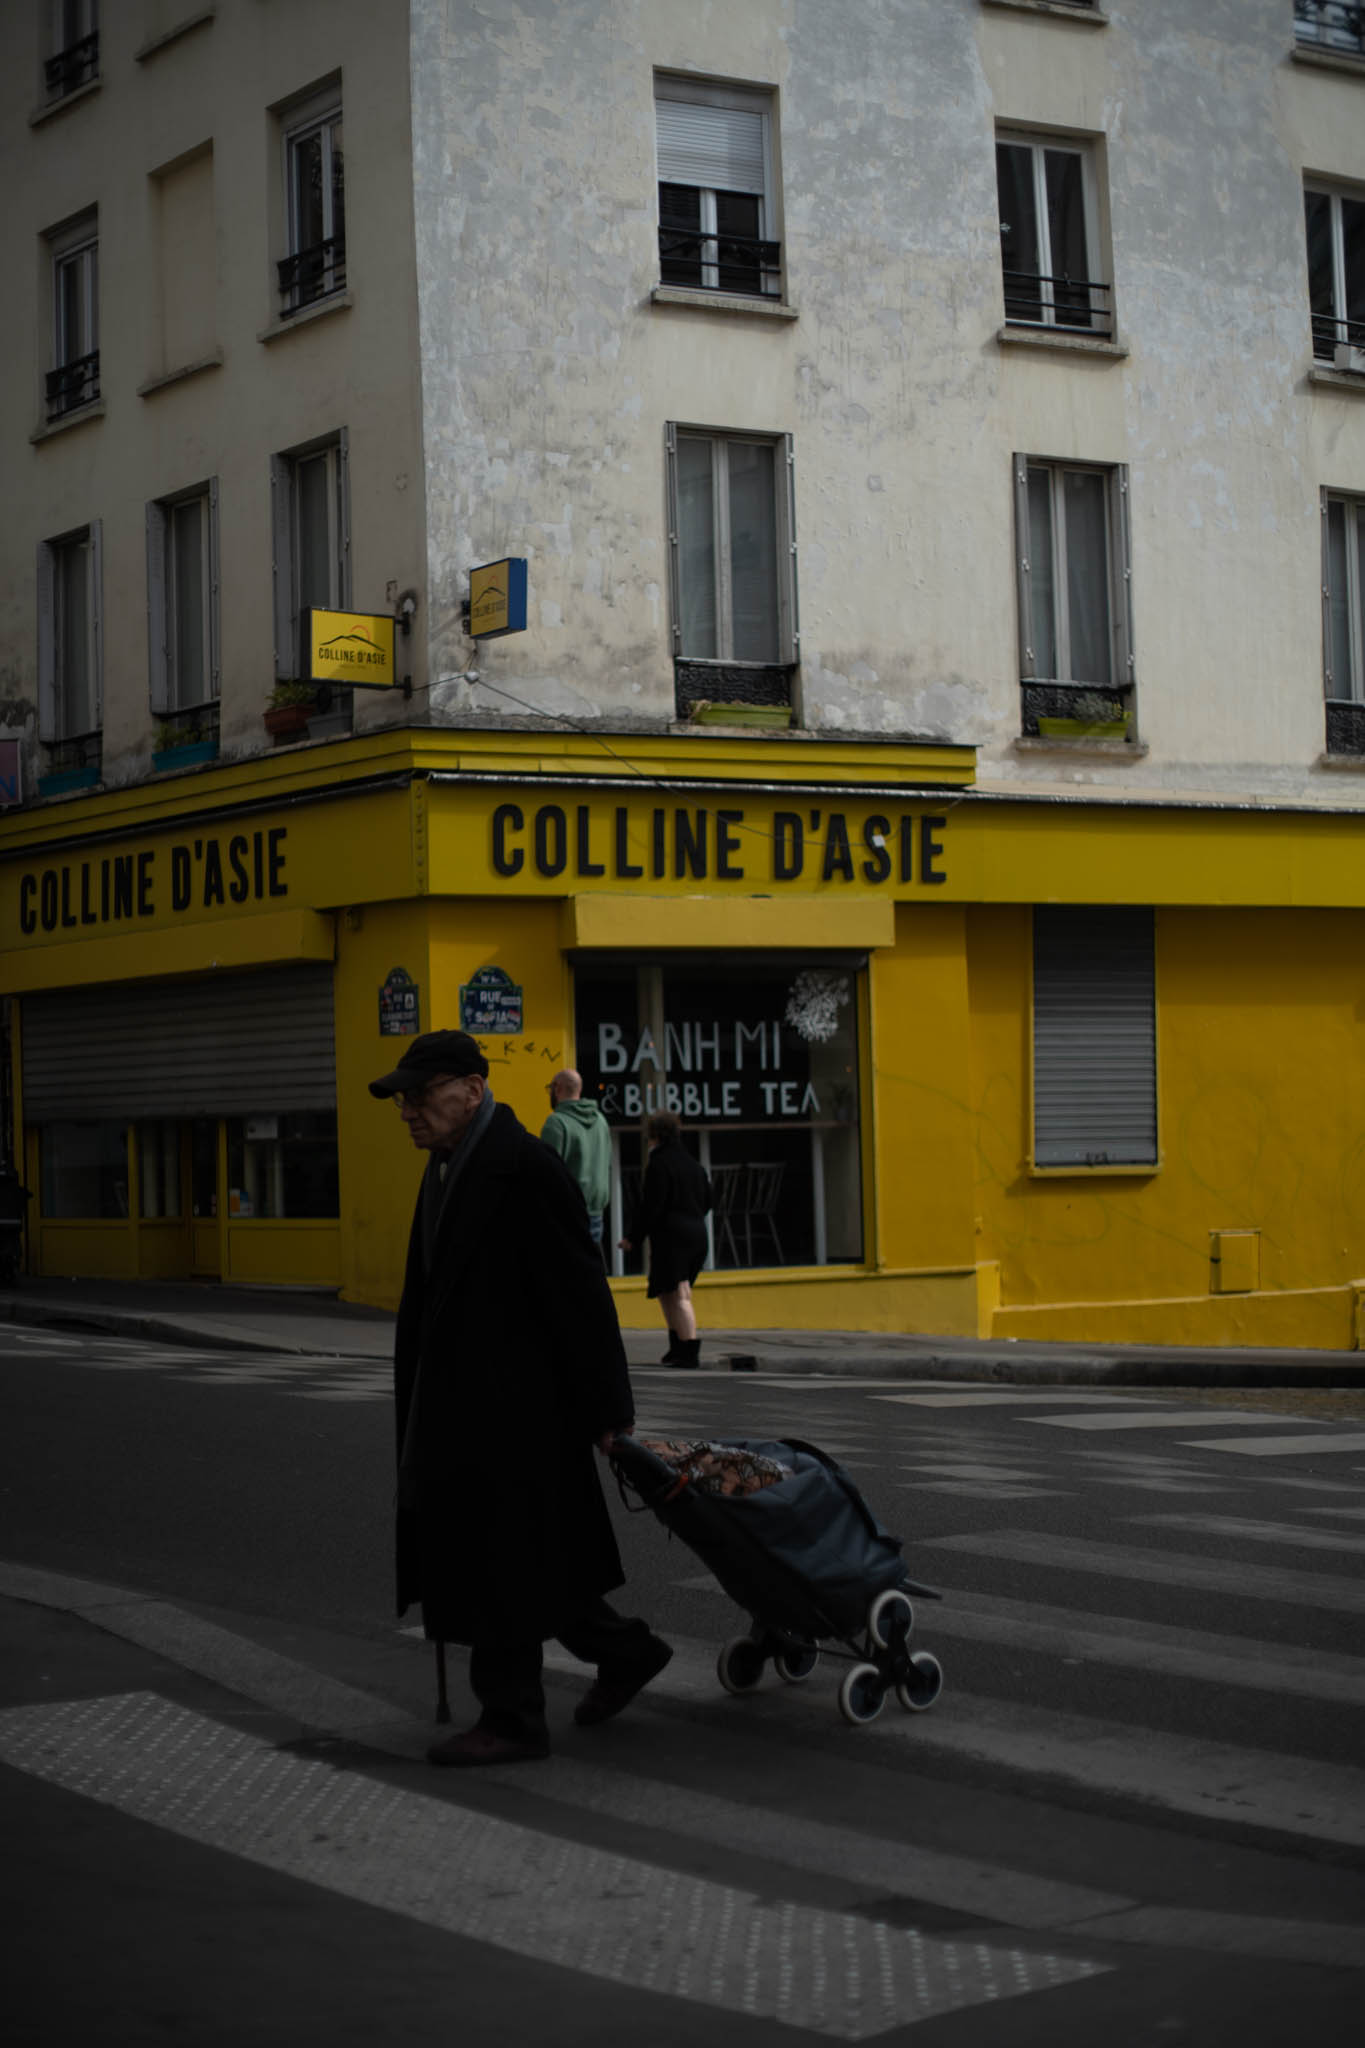
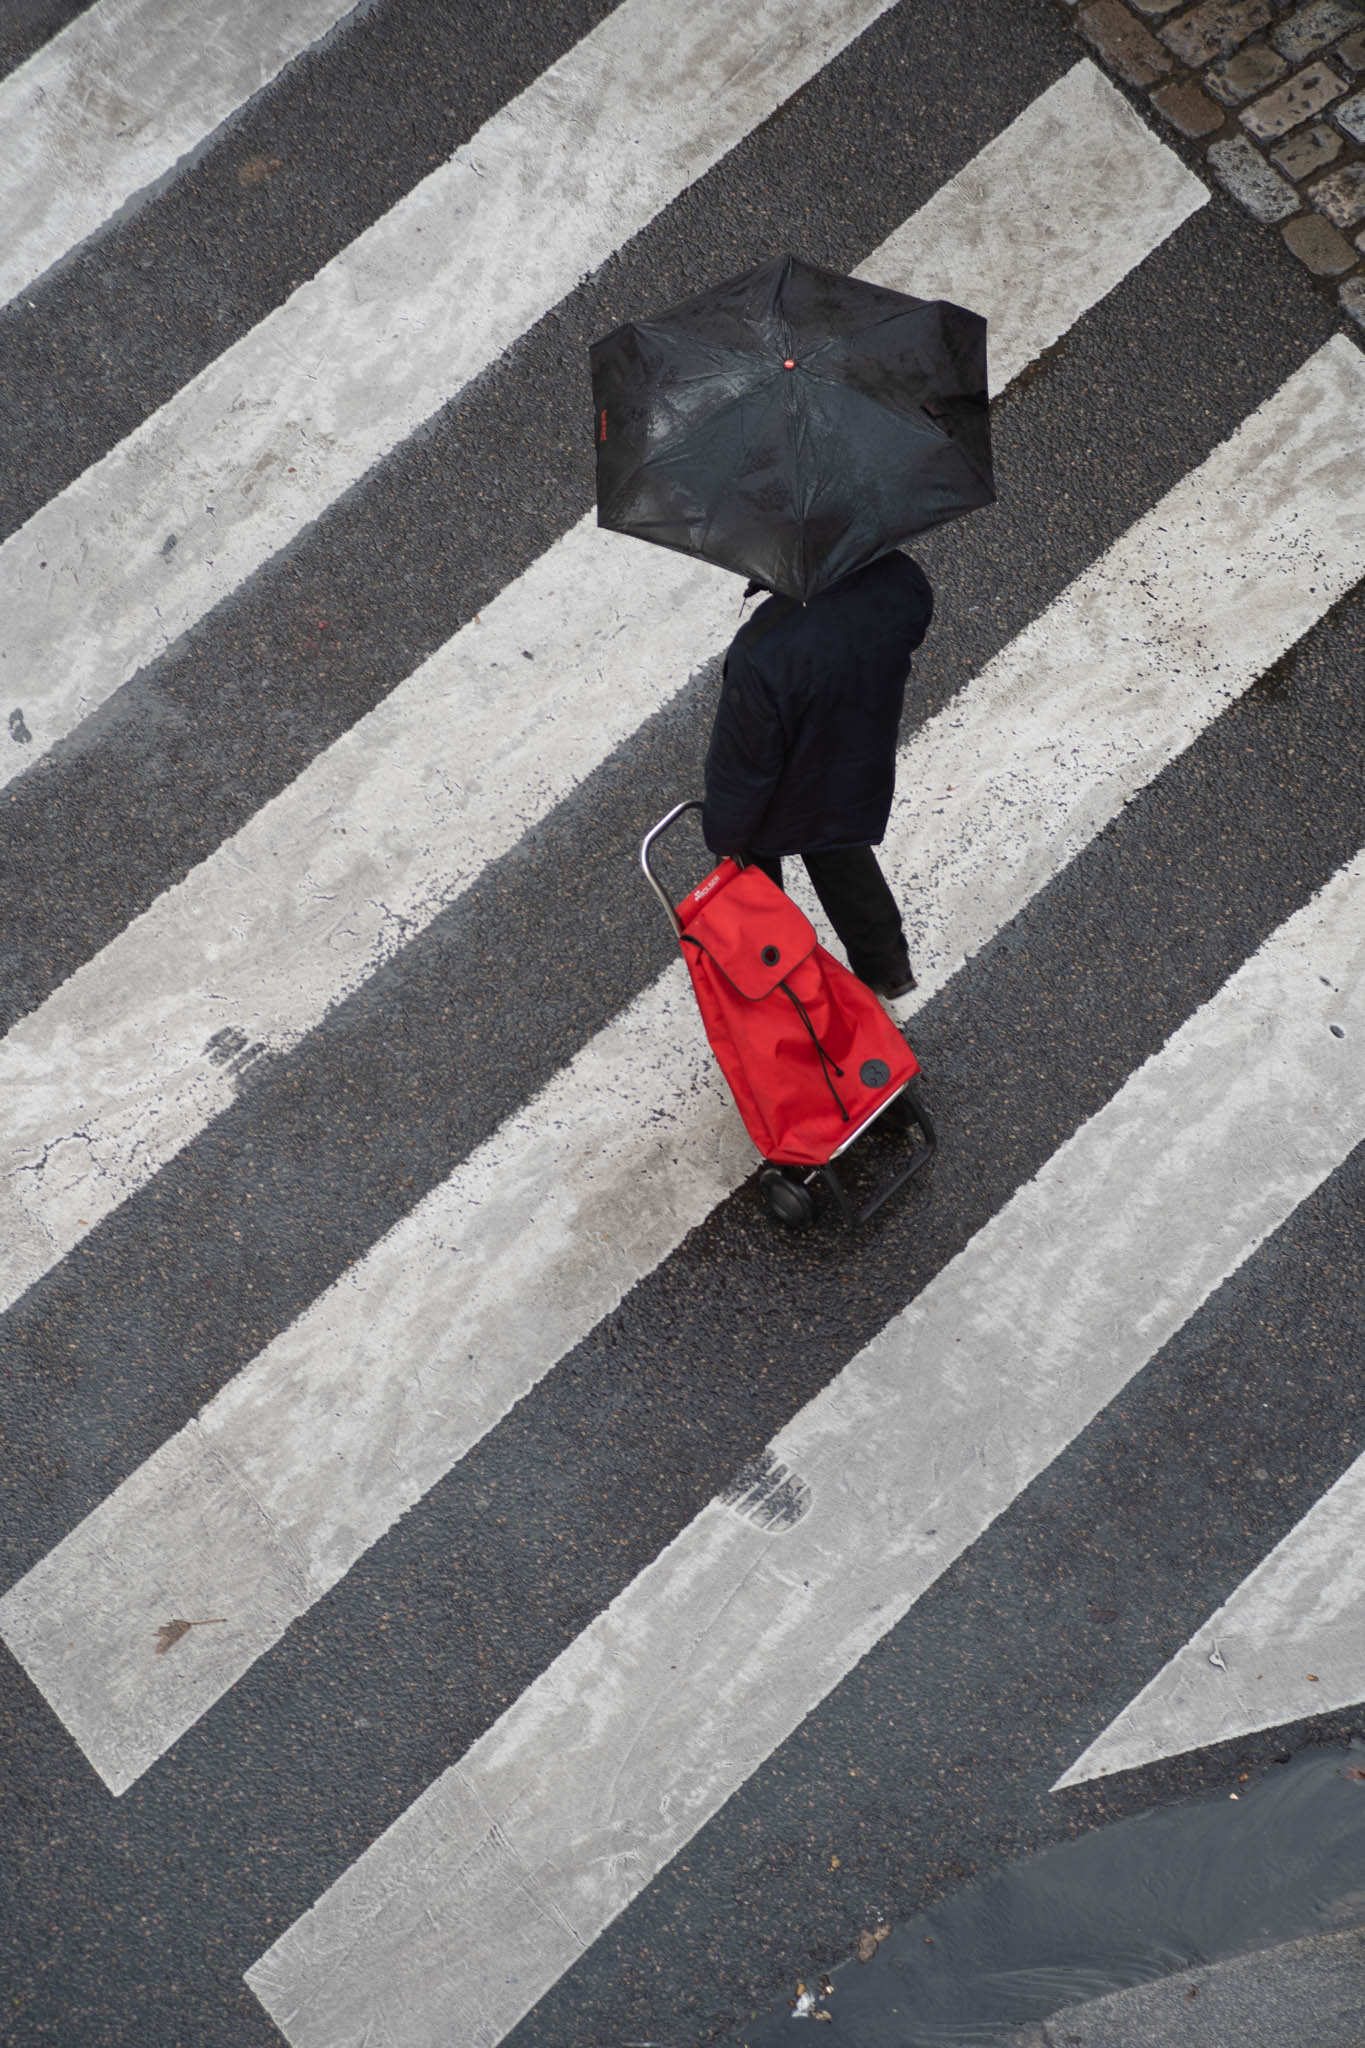
My first ever Lightroom preset was made after my trip to Paris. I brought from this trip over 1400 photos taken during quite uninteresting but dramatic weather. It was also my second opportunity to record a POV on YouTube. In my adventure with street photography, I started to focus more and more on people, hence this preset makes silhouettes visible in photos.
Is it really free?
Yes! Completely free! However, I added an option thanks to which you can support my blog by buying me a symbolic coffee, pint, or even lunch. I will also be very happy if you tag me in your photos with my preset! (@semalondyn)
How to install Lightroom Preset:
To install Lightroom presets, follow these steps:
- Download the preset from my shop.
- Launch Lightroom and open the “Develop” module.
- On the left-hand side, you will see a section called “Presets.” Click on the “+” icon next to it and select “Import Presets.”
- Navigate to the location where the preset file is saved and select it.
- Click “Import” to add the preset to Lightroom.
Once the preset is imported, it will appear in the Presets section of the Develop module. To use the preset, simply click on it to apply it to your photo. You can also adjust the preset settings to fine-tune the effect to your liking.
My Lightroom Presets:
Paris: